jDPWR - a Java web-based Digital Power Controller
Overview
A follow up to the dPWR Perl based Power Controller, I started to convert it into a Java version using Jetty and Java Servlets, named it jDPWR, with the purpose to allow it’s use on more platforms than the Perl based dPWR. During the conversion I got sidetracked with VHDL pushing this project out to a future date. I will eventually finish it off but it is a good starting place for anyone wanting to develop a java based controller.
Evaluate with Docker
To evaluate jDPWR, the easiest method is to create a docker image and run.
-
Clone the repository and build the docker image.
cd ~ git clone https://github.com/pdsmart/dPWR.git cd dPWR docker build -f Dockerfile.jdpwr -t jdpwr . -
Run the image mapping port 8080 to whichever port you want to use.
docker run --rm -p 8100:8080 --name jdpwr jdpwr -
Open a web browser and go to http://localhost:8100
-
Stop the application
docker stop jdpwr
jDPWR Installation
The section below assumes you are installing Debian or one of its derivatives, substitute relevant yum commands for Red Hat based linux versions.
As the development is not yet complete, the assumption is it will be developed, compiled and run in-situ.
- Install Linux onto your development board Flash, SD or eMMC.
-
Clone the repository into a local temporary directory, install into /usr/local and set the ownership.
cd ~ git clone https://github.com/pdsmart/dPWR.git cd dPWR ln -s ~/dPWR/jDPWR /usr/local/jDPWR chown -R www-data:www-data ~/dPWR/jDPWR -
Ensure all updates are applied:
apt-get update apt-get upgrade -
Install neccessary packages:
apt-get -yqq install procps socat default-jdk maven vim -
Build the jar:
cd ~/dPWR/jDPWR mvn clean package -
Manually edit the JSON config file ~/dPWR/jDPWR/jDPWR.cfg
Change http::serverHost to a valid IP for your machine. Change http::serverPort to a value suitable for your machine, ie: 8080 -
Run the application
cd /usr/local/jDPWR/target java -jar jDPWR-\<version>.jar - Open a web browser and enter http://<your IP>:<your Port>
jDPWR Web Interface
As per the dPWR Perl version, the jDPWR application has a comprehensive web interface. It is designed around the Charisma framework ((C) Muhammad Usman) converted to be served with the Eclipse Jetty JSP Server and additional jDPWR specific jsp pages. The following images show the base screens of the web interface which currently exist.
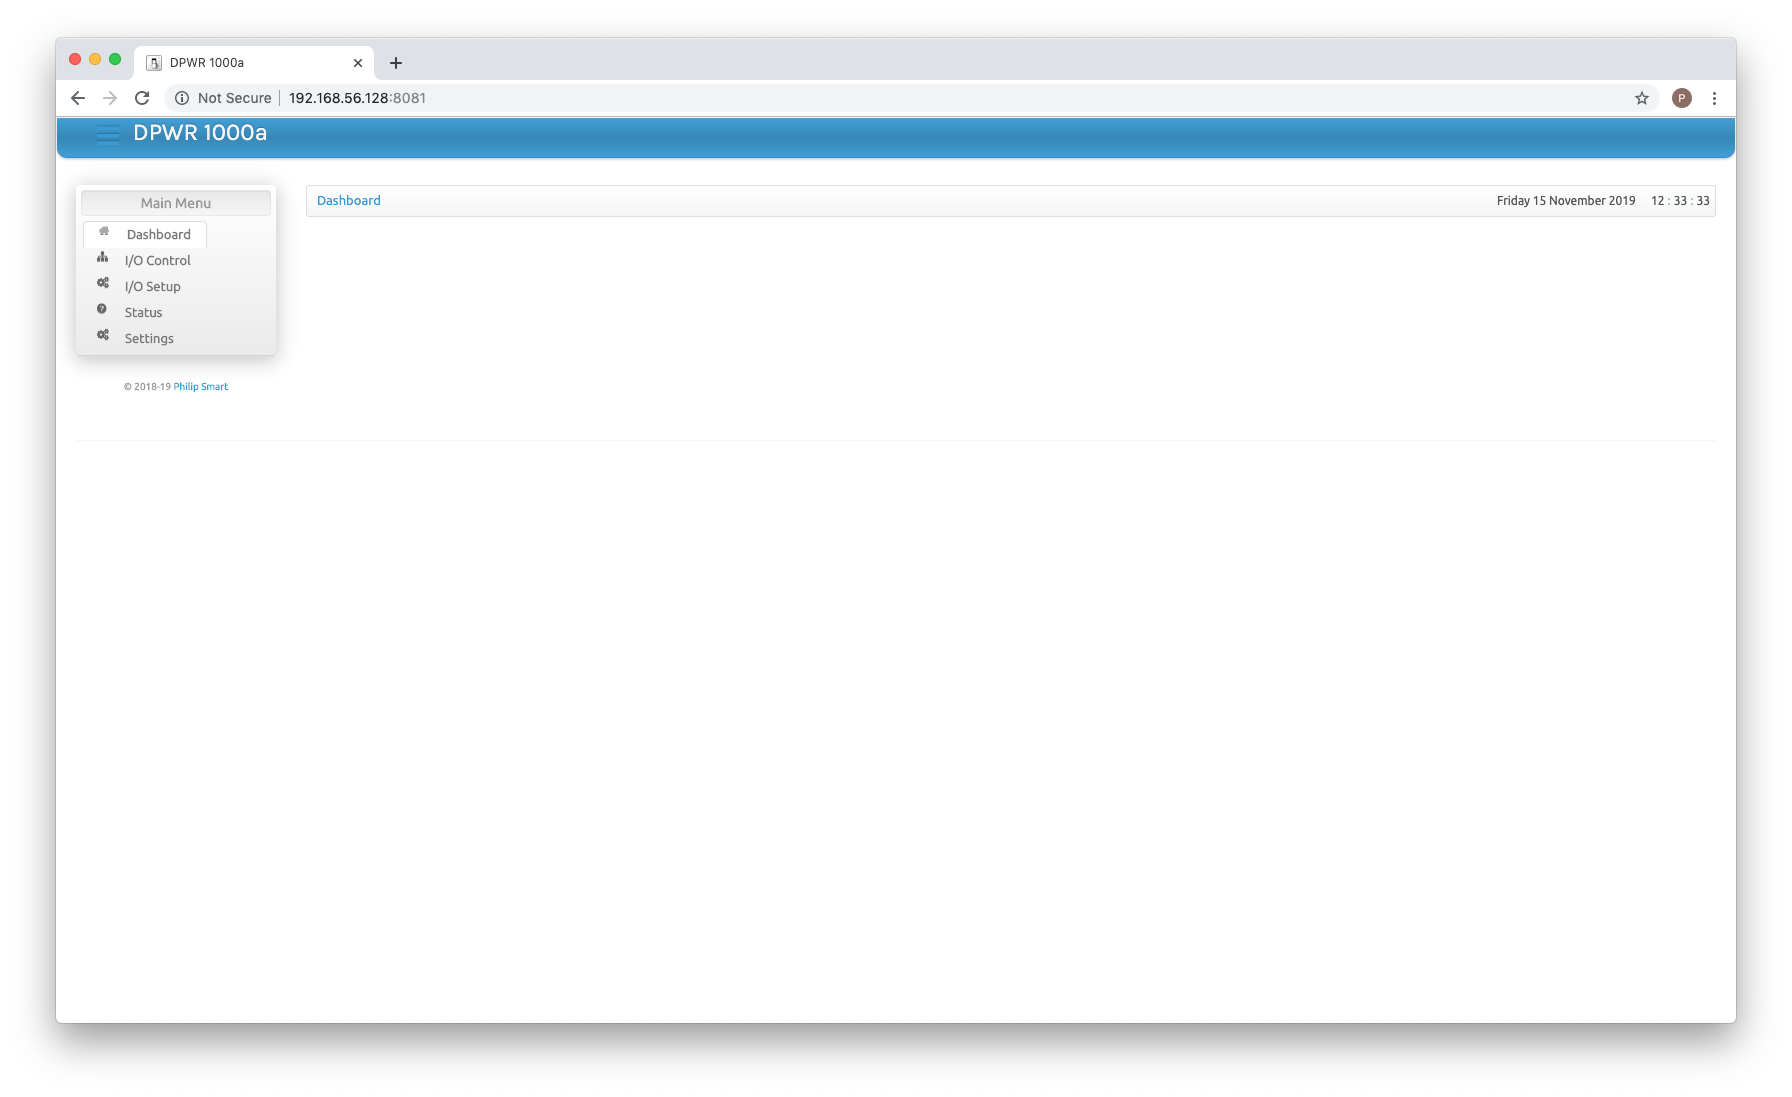 The home screen - blank - but easy enough to add status or other required data/instructions.
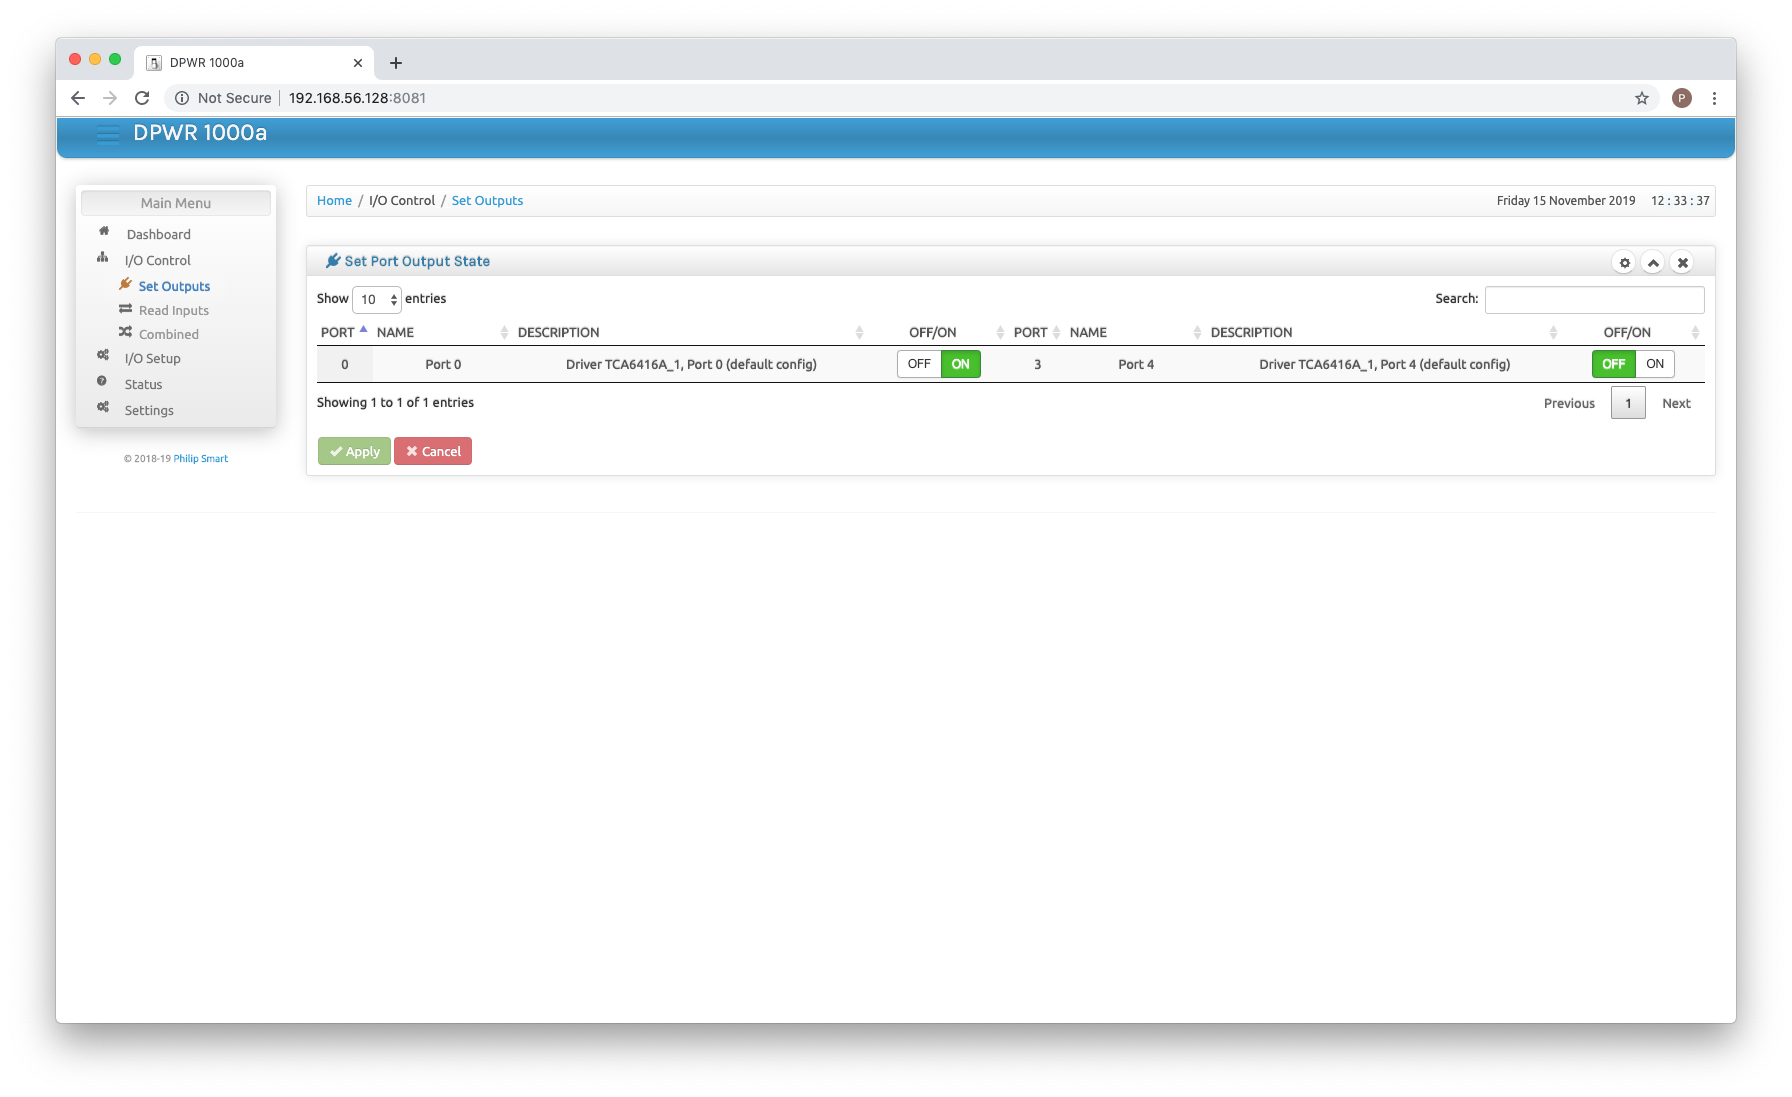 The primary output control screen. Each port which is configured for output and enabled is display along with a description and an on/off switch. Simple enough to change a controlled device state.
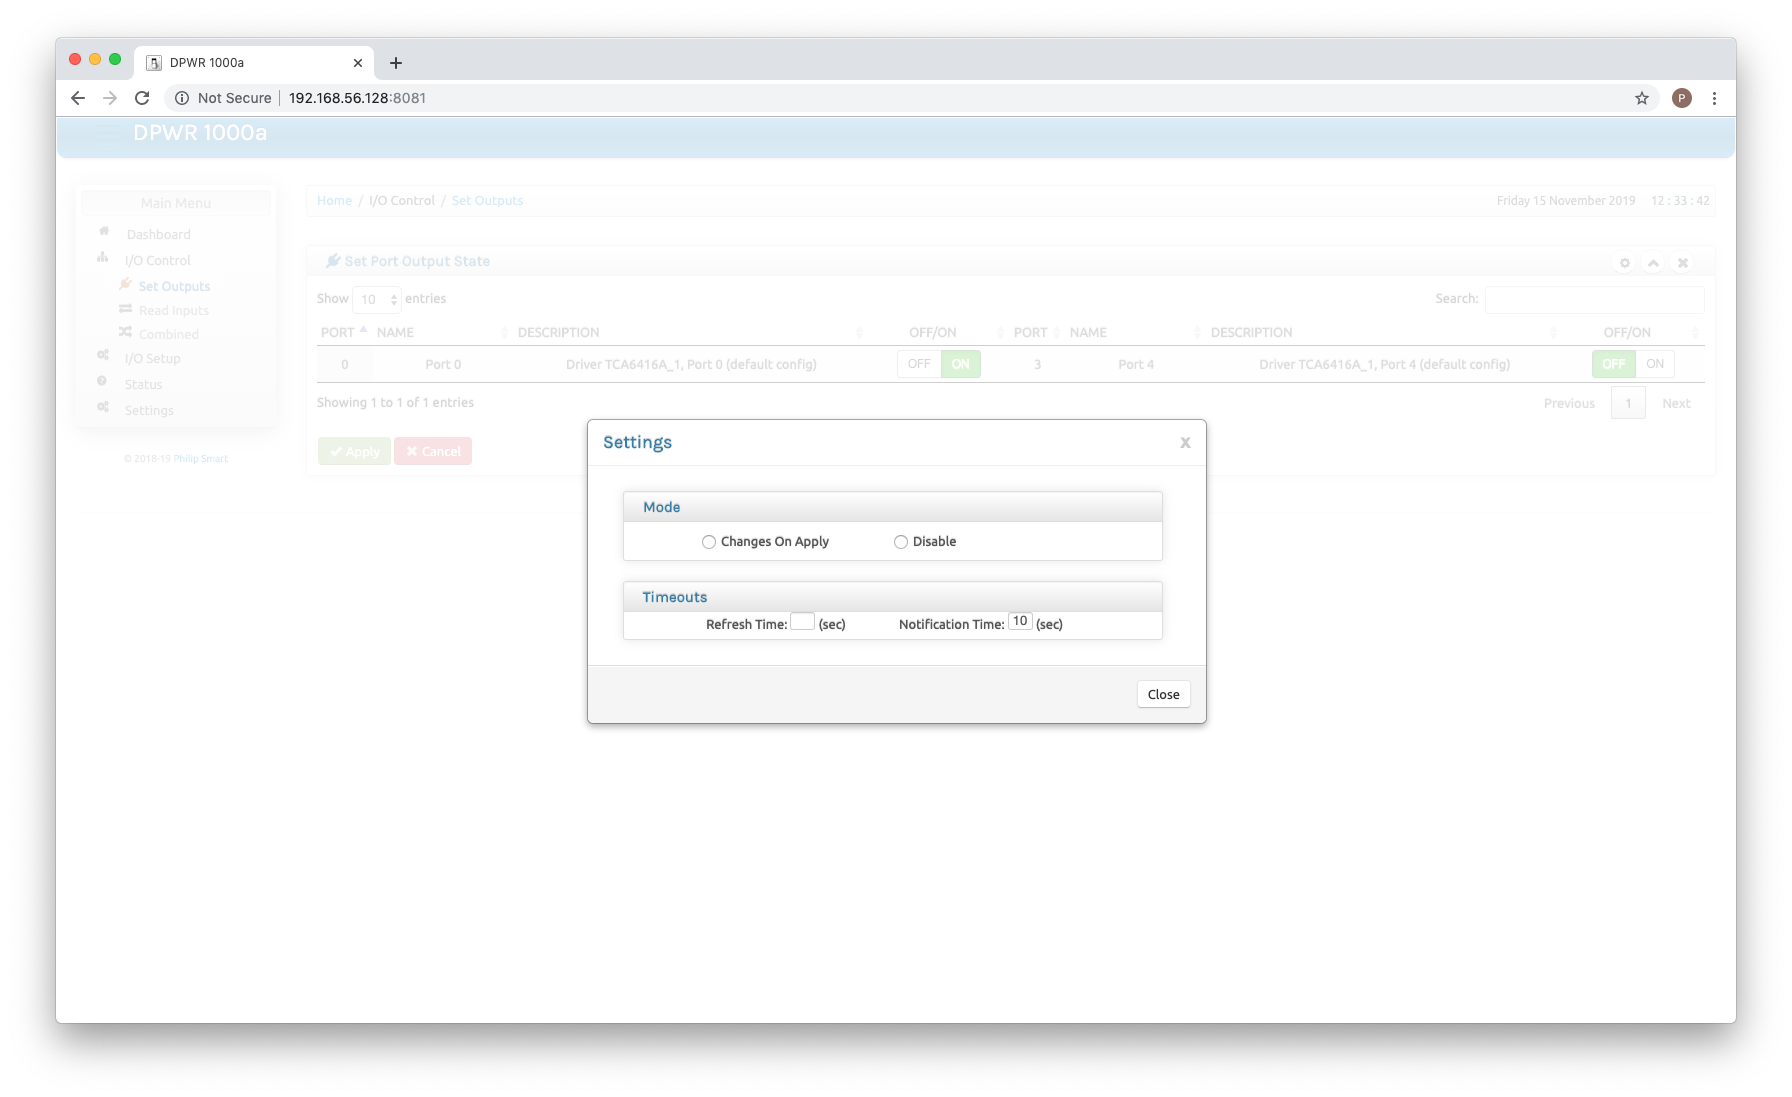 Options for this screen, setting auto refresh to see updates made by other users etc.
 The primary input status screen. Each port which is configured for input and enabled is displayed along with its current value in the form of an on/off switch.
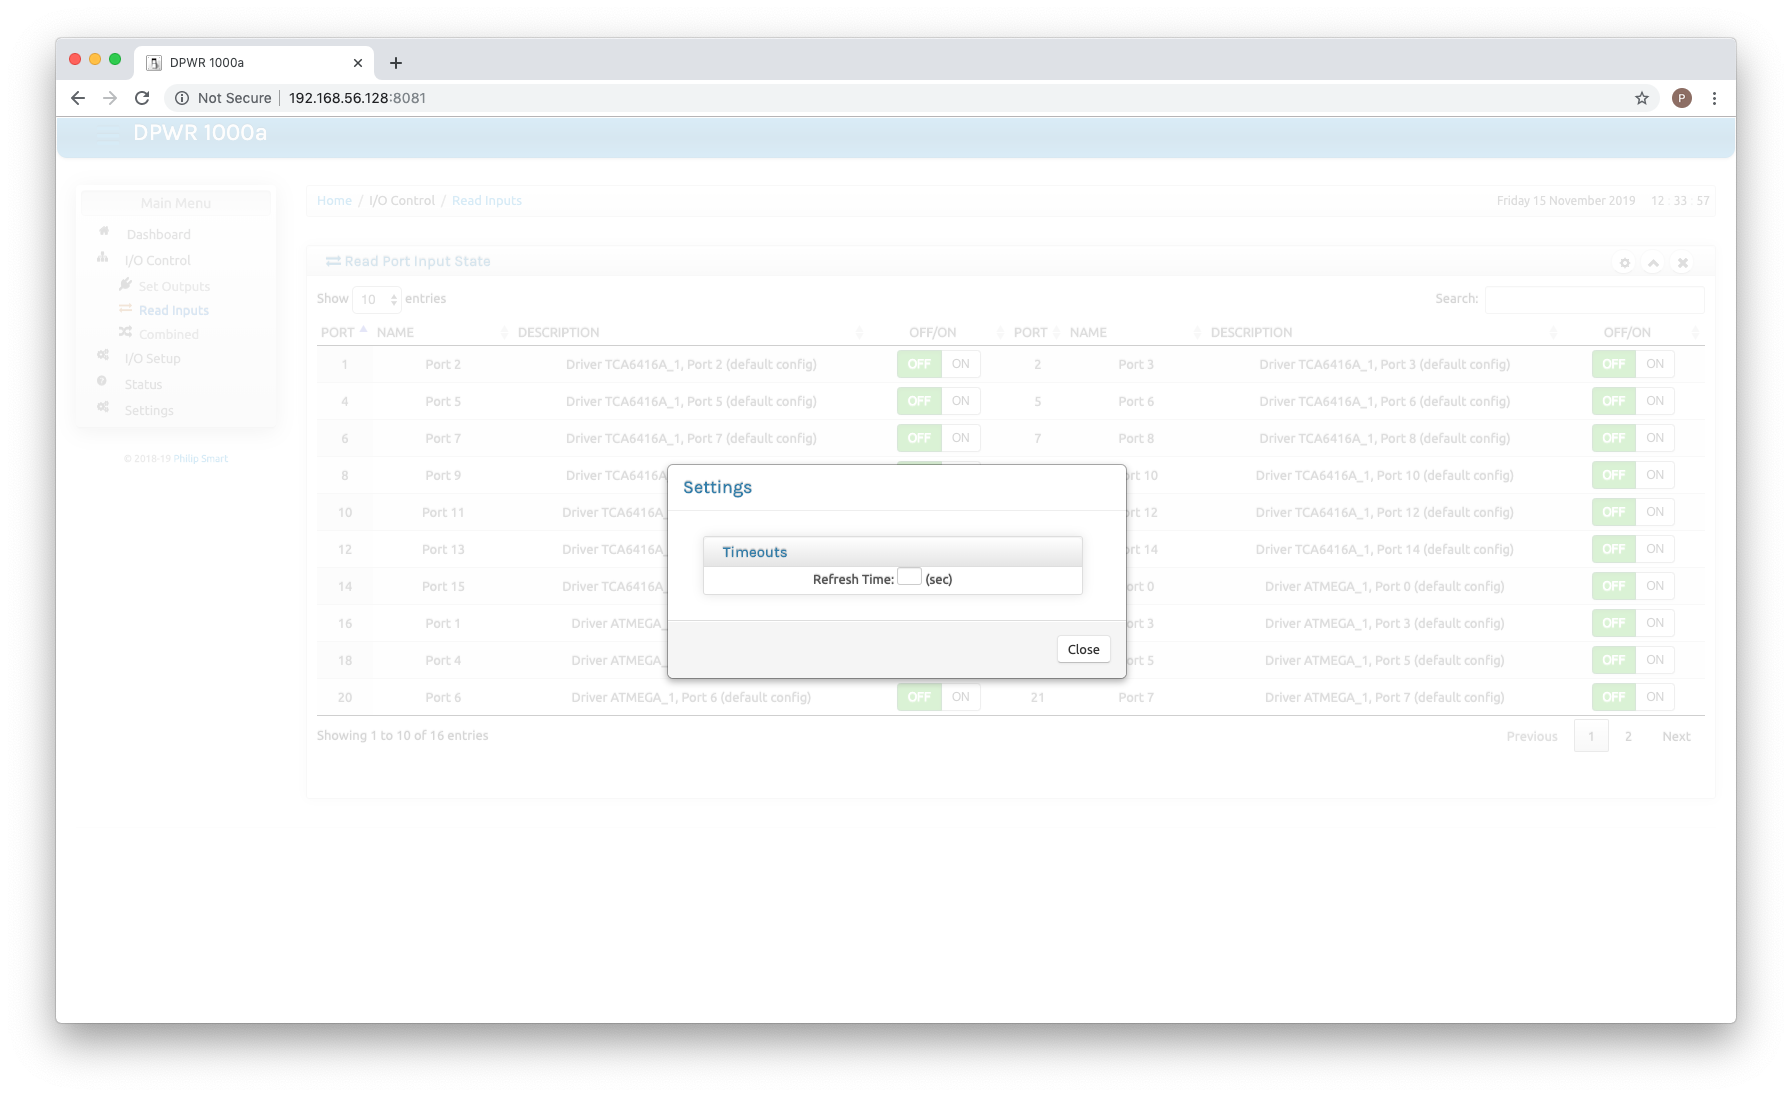 Options for this screen, setting auto refresh to see updates as the ports values change.
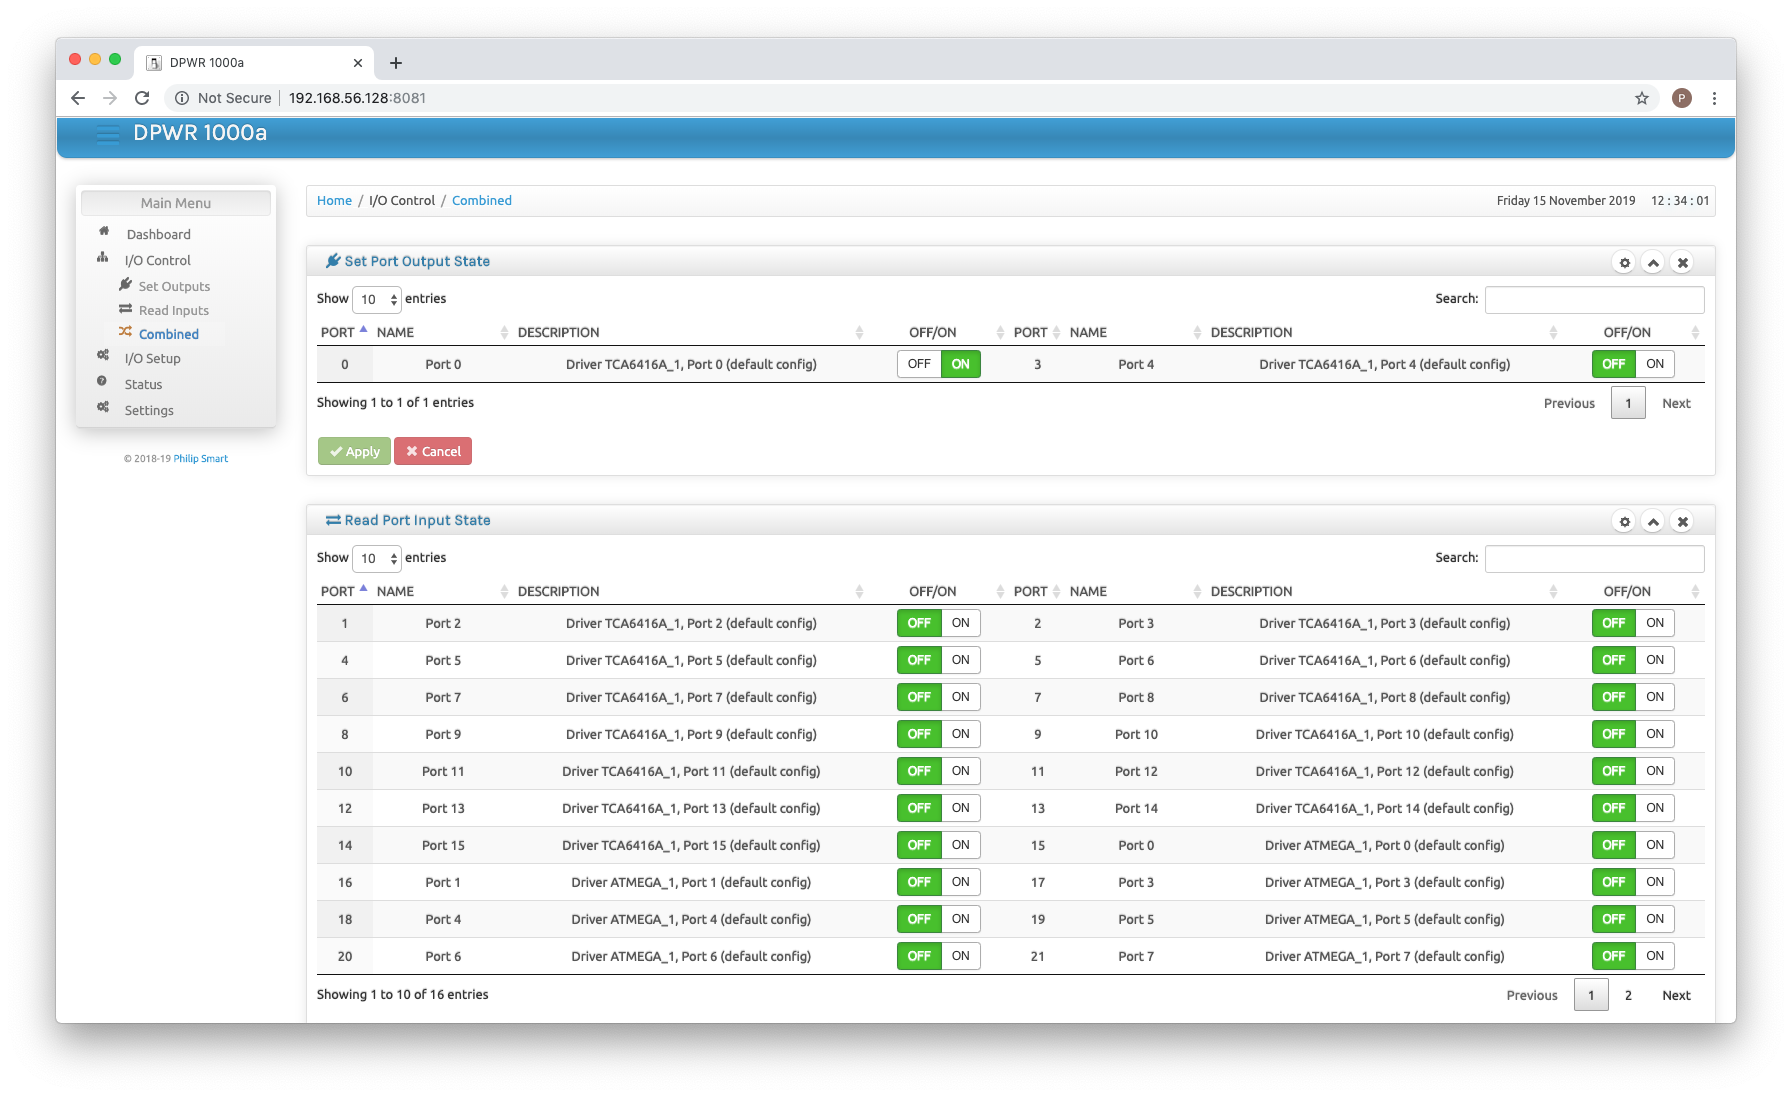 A combined input and output screen, you can collapse, close or reorder each block.
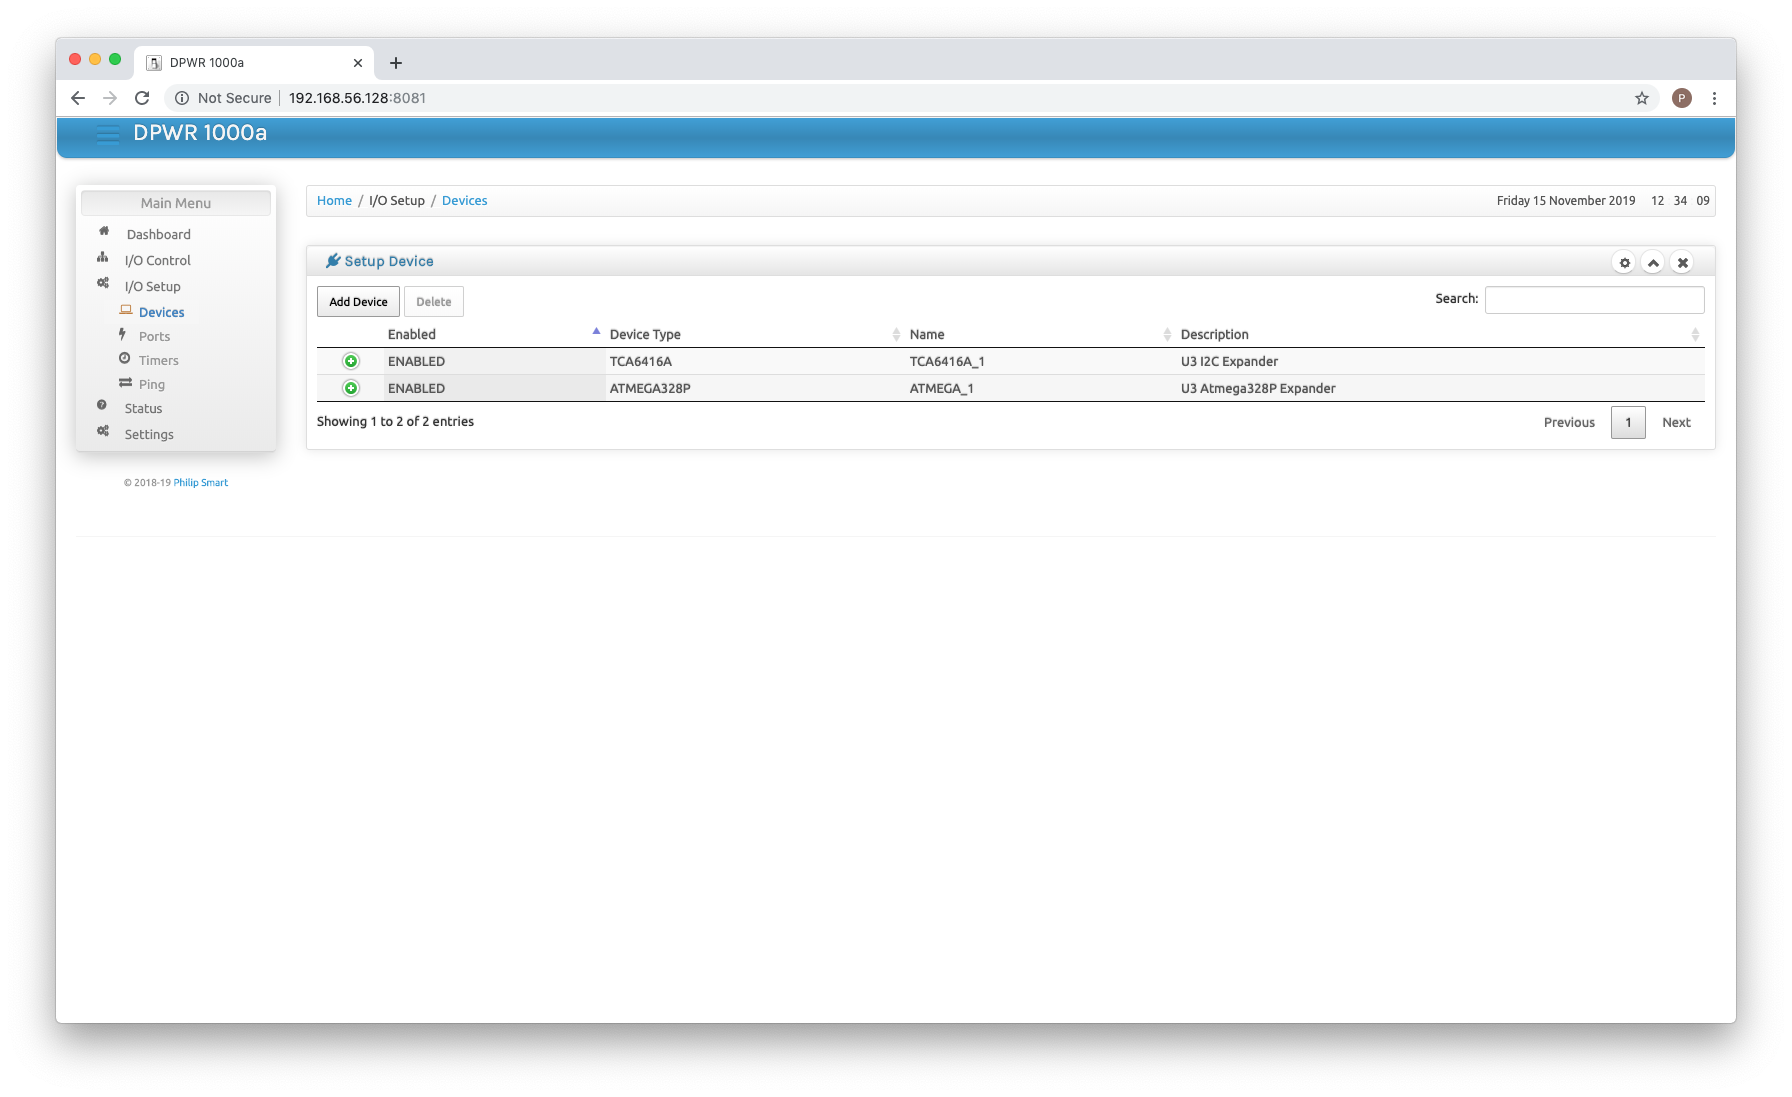 Configure a device to be used in the system. Each device has its own driver file, ie: DriverATMega328P.java and DriverTCA6416A.java, it should be relatively straight forward to write a driver for another device.
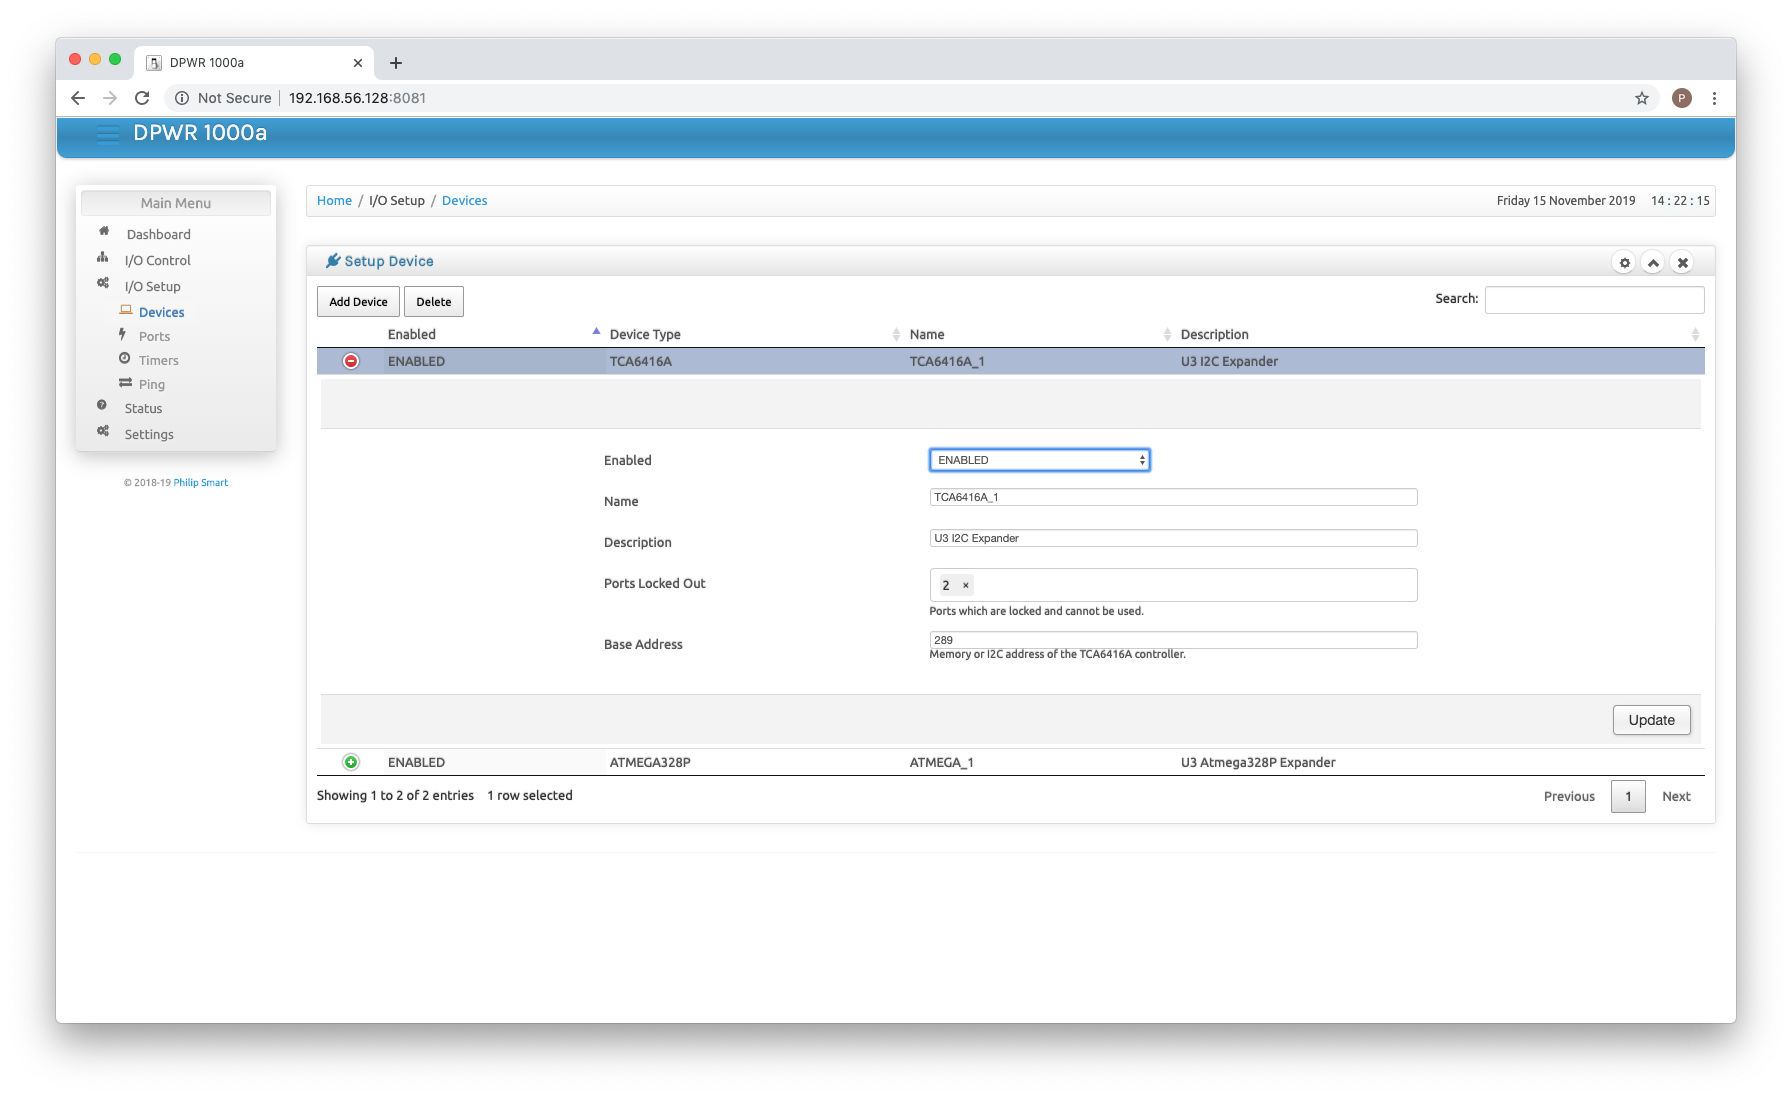 Clicking on a created device allows you to change the parameters and enable/disable.
 New device creation pops up a window for configuration data input.
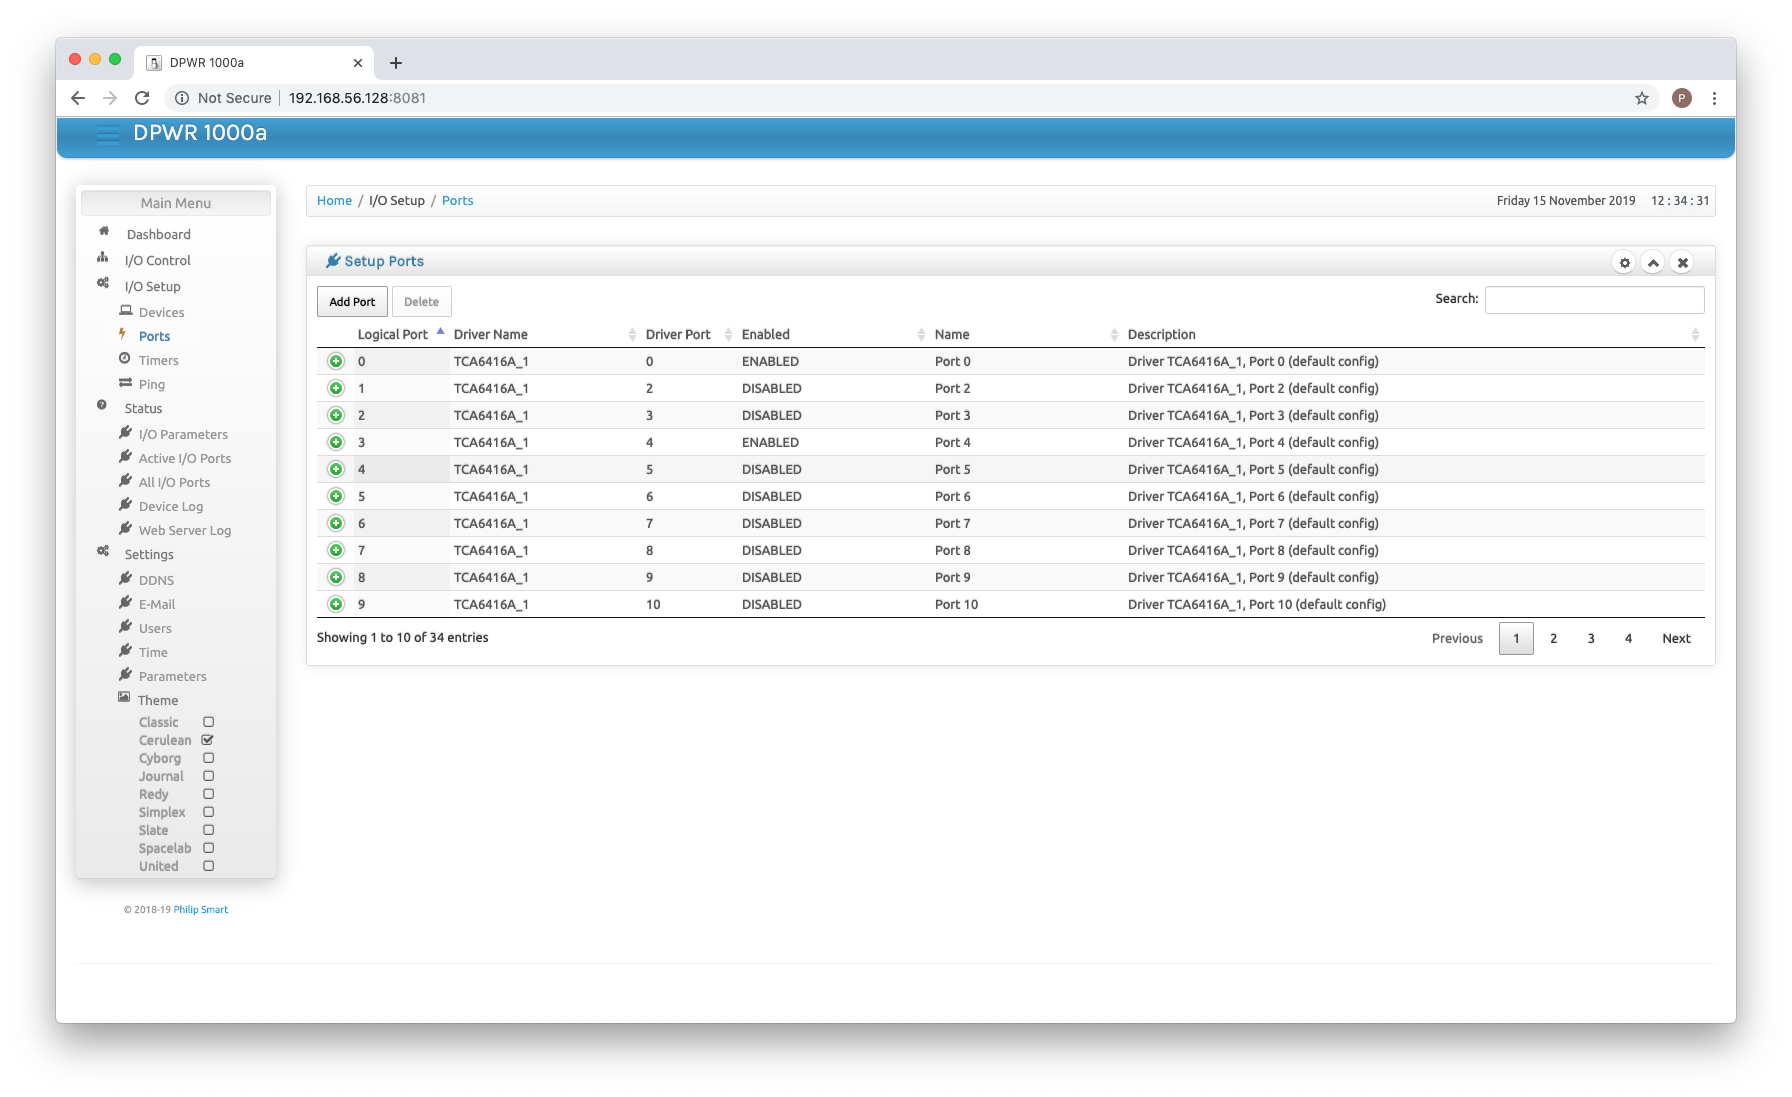
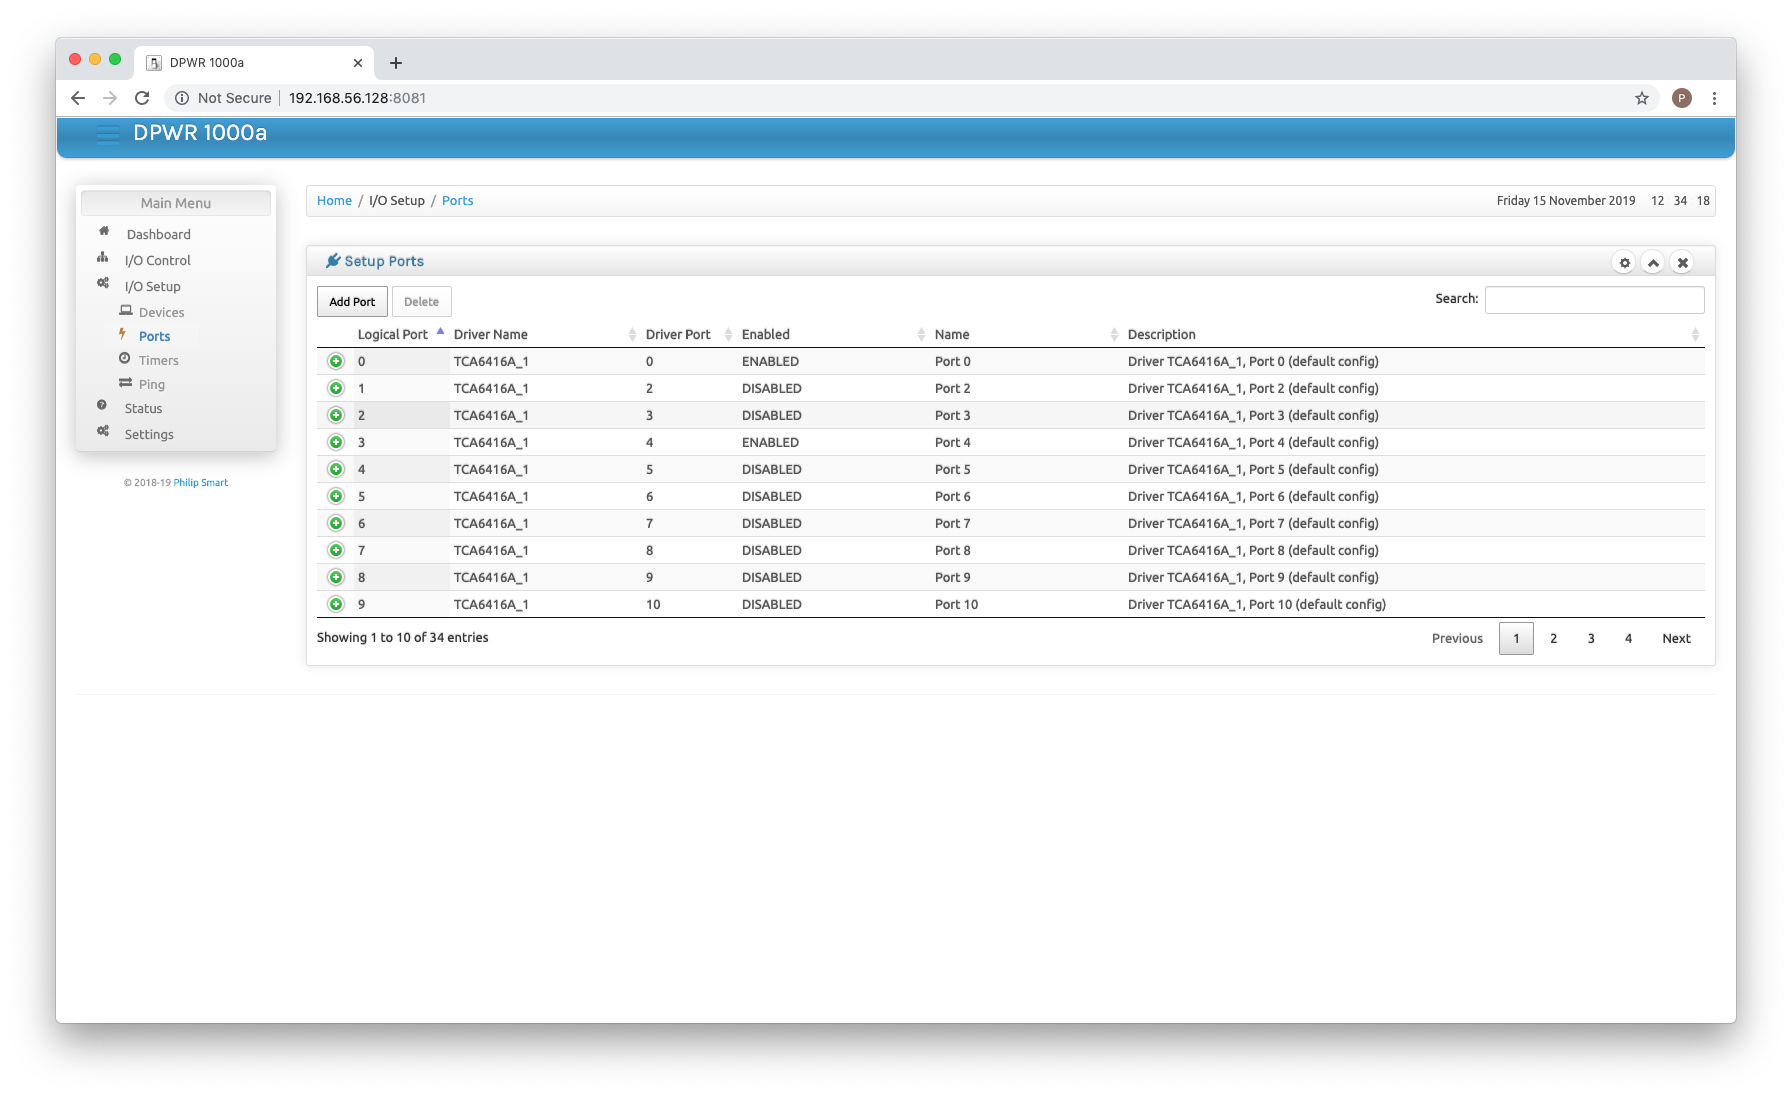 Configure a port to be used within an enabled device.
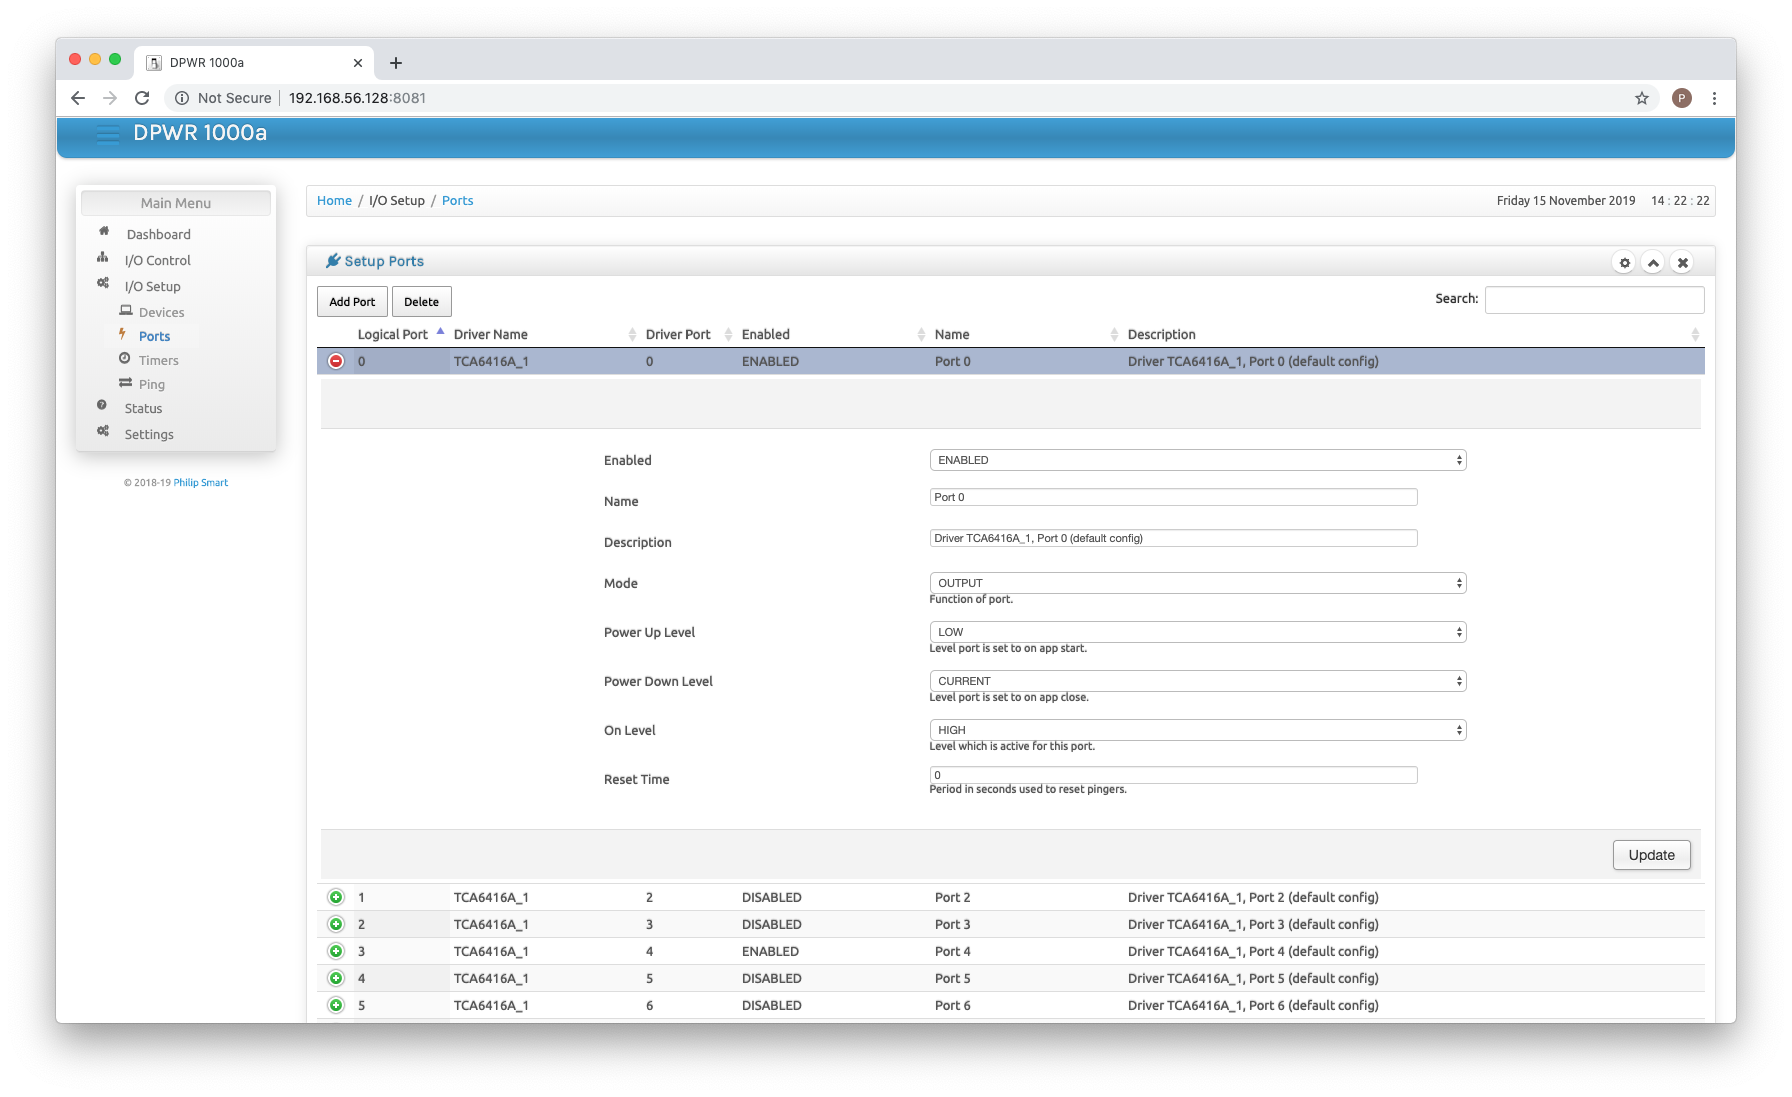 Clicking on a port allows you to change the parameters and enable/disable it.
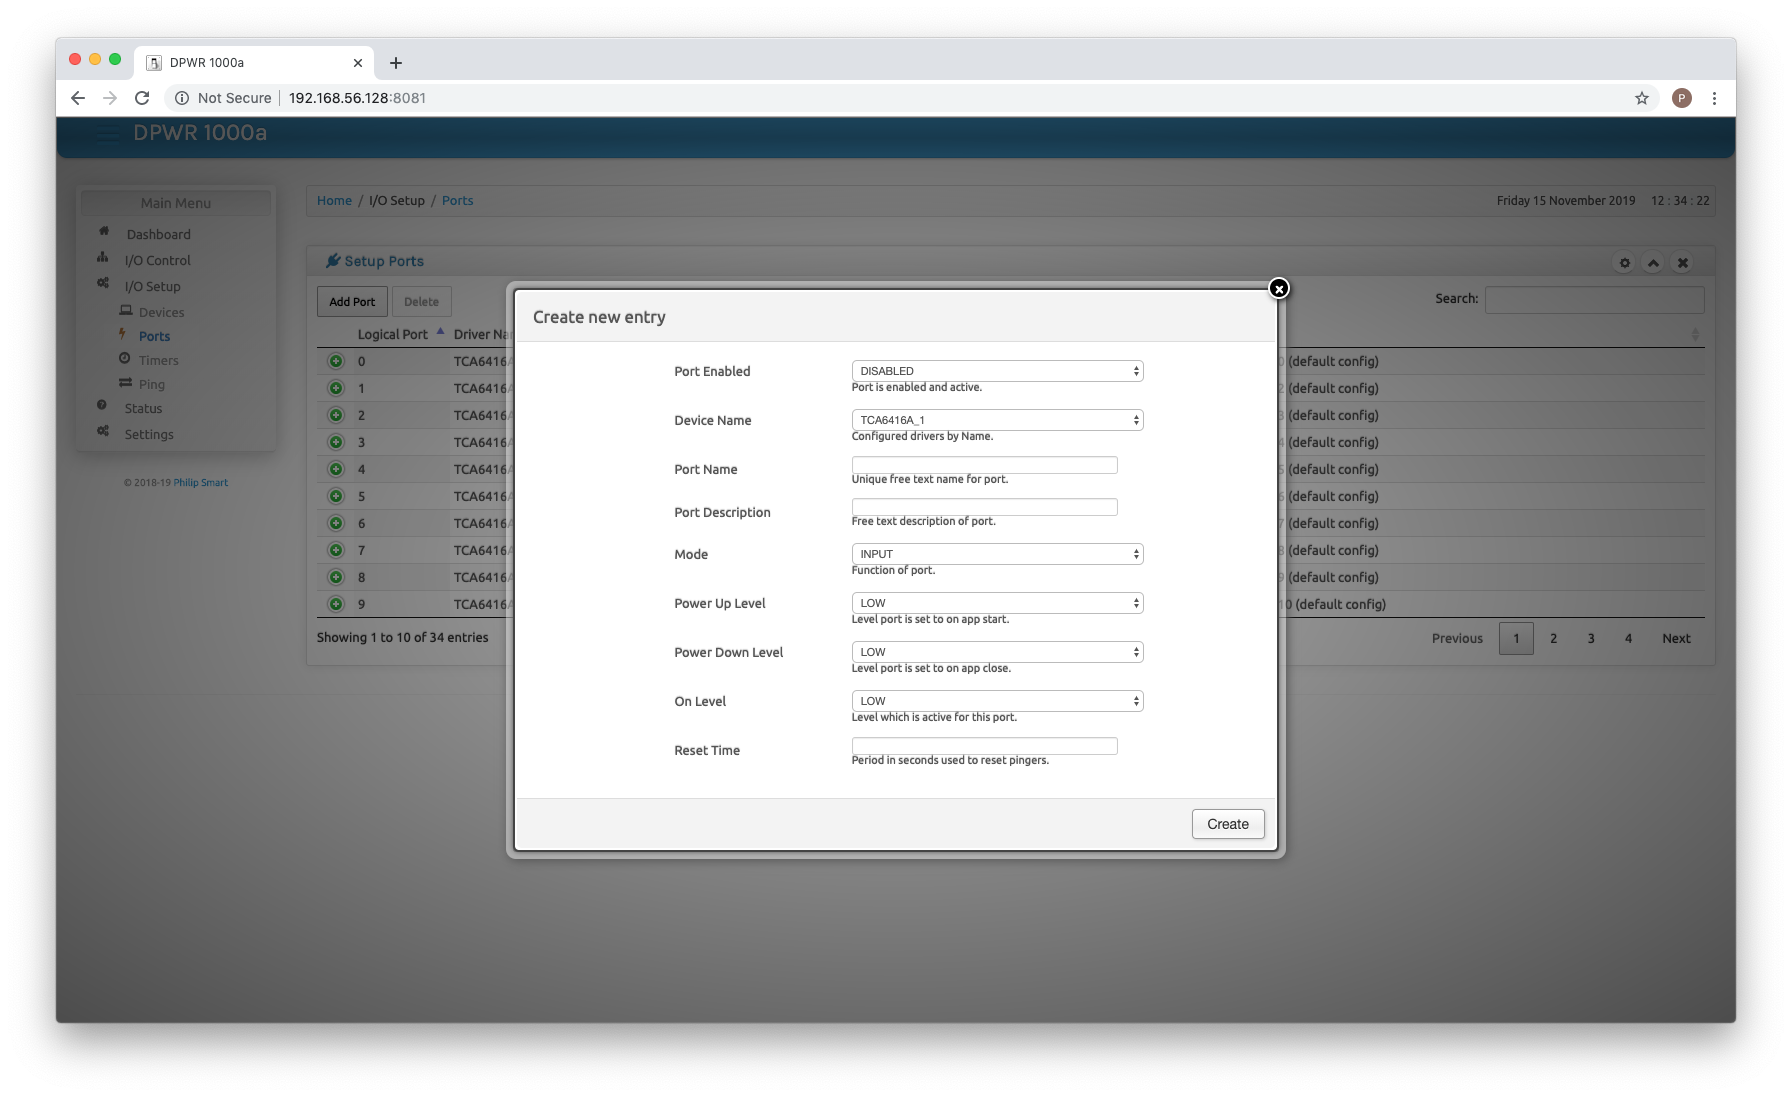 New port creation pops up a window to configure a new port on an enabled device.
 Remaining menu items which need jsp pages complete.
To Do
Complete Web pages (straight forward conversion of dPWR logic):
| To Do | Item |
|---|---|
| 1 | Write I/O Setup -> Timers |
| 2 | Write I/O Setup -> Ping |
| 3 | Write Status -> I/O Parameters |
| 4 | Write Status -> Active I/O Ports |
| 5 | Write Status -> All I/O Ports |
| 6 | Write Status -> Device Log |
| 7 | Write Status -> Web Server Log |
| 8 | Write Settings -> DDNS |
| 9 | Write Settings -> E-Mail |
| 10 | Write Settings -> Users |
| 11 | Write Settings -> Time |
| 12 | Write Settings -> Parameters |
| 13 | Write login page. |
Credits
Credits to Muhammed Usman for his Charisma Admin web Template.
Where I have used or based any component on a 3rd parties design I have included the original authors copyright notice within the headers or given due credit. All 3rd party software, to my knowledge and research, is open source and freely useable, if there is found to be any component with licensing restrictions, it will be removed from this repository and a suitable link/config provided.
Licenses
This design, hardware and software, is licensed under the GNU Public Licence v3.
The Gnu Public License v3
The source and binary files in this project marked as GPL v3 are free software: you can redistribute it and-or modify it under the terms of the GNU General Public License as published by the Free Software Foundation, either version 3 of the License, or (at your option) any later version.
The source files are distributed in the hope that it will be useful, but WITHOUT ANY WARRANTY; without even the implied warranty of MERCHANTABILITY or FITNESS FOR A PARTICULAR PURPOSE. See the GNU General Public License for more details.
You should have received a copy of the GNU General Public License along with this program. If not, see http://www.gnu.org/licenses/.